Modify Java Web App Azure Deployments with Post-Deployment Script
When deploying a Java web application to Apache TomCat within an Azure App Service on Azure, it looks for a ROOT.war file within the tomcat_home/webapps/ROOT directory on default. However, when you build your Java web application through an Azure DevOps build pipeline, the .war file produced will be called <NameOfApplication>.war. This means your application will be accessed through <mysite>.com/<NameOfApplication>/<MyPage> rather than <mysite>.com/<MyPage>.
One solution for ensuring the desired deployment of your Java web application: remove the default ROOT.war and rename your <NameOfApplication>.war to ROOT.war. And of course, we want to automate that process as part of your release pipeline within Azure DevOps.
Required Resources
- Azure subscription
- Azure Resources:
- Azure Resource Group
- Azure App Service Plan
- Azure App Service
- Azure DevOps Account
Inline Script Method
Within your release pipeline:
-
Select your Azure App Service Deploy task

-
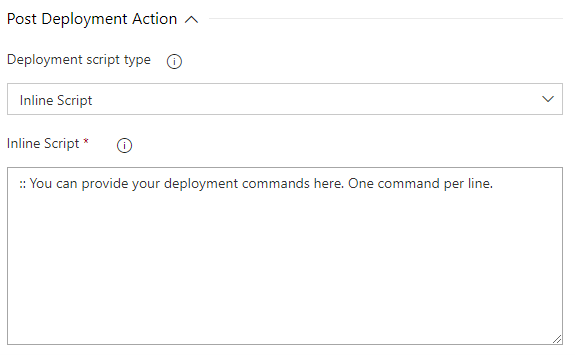
Select the Post Deployment Action section and choose “Inline Script” option from the Deployment script type dropdown
-
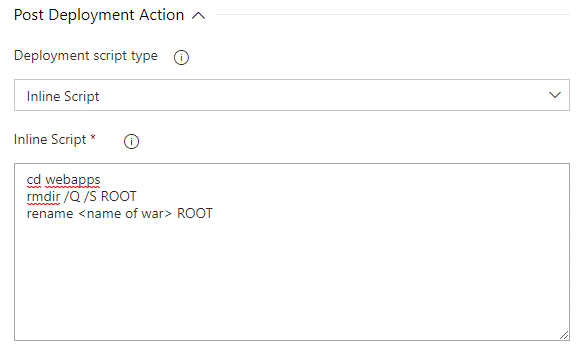
Add the following script:
cd webapps
rmdir /Q /S ROOT
rename
<NameOfApplication>ROOT
Save and run your release pipeline!
Now, you should be able to access your application through <mysite>.com/<MyPage>.
Script File Method
You can also take the above script, save it to a batch file (.bat/.cmd), and include it within your project. Run your build pipeline and create a new build. Then, within the Azure App Service Deploy task in your release pipeline, select “Script File Path” in the Deployment script type dropdown menu and select your batch file from the build artifacts. Save and run your release pipeline.